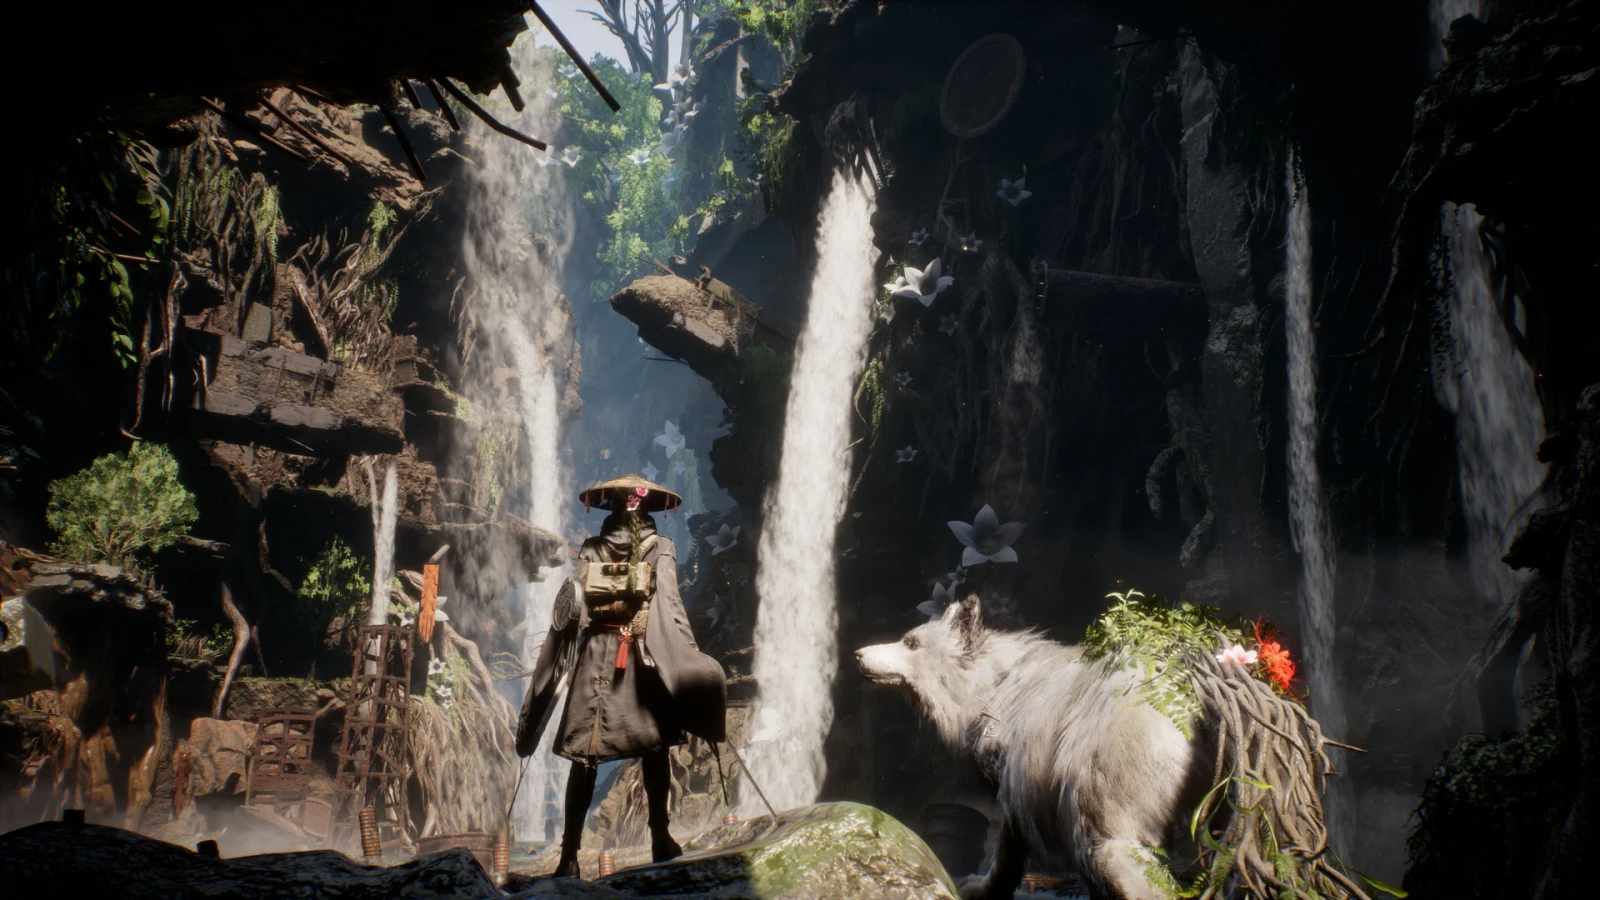
The best early skills in Beast of Reincarnation are Shakuyaku and Tracking Shot for Emma, plus Higanbana: Seeds, Mod: Swamp Summoner, and Taunt for Koo. Together they cover basic sword damage, safer ranged pressure, burning, crowd control, and boss distraction. Upgrade the tools you actually use before spreading points across every branch.
Best Emma skills first
Blade Art: Shakuyaku is Emma's dependable early attack and the safest first upgrade for a sword-focused player. It supports the core combat loop without demanding a special setup, so its value does not disappear when enemies or environments change. GamesRadar recommends improving it early rather than leaving your basic Blade Art behind.
Tracking Shot is the practical ranged priority. Its branch improves accuracy, damage, tracking, and piercing, making projectiles more reliable when closing distance is dangerous. It is especially useful for players who want a second answer when parry timing is not yet consistent.
When to take Sprout Shakuyaku
Sprout Shakuyaku belongs to Emma's Hair branch and adds a binding grapple to a combo. It can keep ordinary targets under control and helps Emma connect pressure without simply trading hits. Its restraint effect is less dependable against some bosses, so it should complement—not replace—your basic damage and defense.
Take it early if you enjoy controlling normal encounters or want Hair skills that support ranged follow-ups. If bosses are your immediate problem, invest first in an attack you can land consistently and in Koo's utility. A skill is only “best” when your current loadout can use it often.
Best Koo skills first
Higanbana: Seeds is Koo's foundational offensive option and applies burning. It gives the partnership steady pressure while Emma concentrates on movement and parries. Because it serves a clear role without complicated positioning, it is a strong early investment.
Mod: Swamp Summoner is an Incantation that creates slowing swamps. The value is control: slower targets give Emma more time to line up attacks, separate groups, or recover the rhythm of a fight. Taunt, from Koo's Pounce branch, draws nearby attacks toward Koo and can create breathing room during bosses.
A balanced unlock order
Start by improving Shakuyaku, then secure one ranged tool through Tracking Shot. Add Higanbana: Seeds for damage and choose either Swamp Summoner for control or Taunt for pressure relief. This sequence gives you one answer for close combat, distance, groups, and a dangerous single target.
After that, spend according to the problem in front of you. If normal enemies surround Emma, add control; if a boss limits safe melee time, improve ranged pressure; if Koo's commands sit unused, practice generating and spending Florescence Points before buying another active ability. The gameplay guide explains that shared loop in more detail.
Skills unlocked after Rangifer
Defeating Rangifer is a progression milestone that unlocks Sakura Storm and Javelin, according to GamesRadar's launch guide. That makes the fight an important point for reassessing both trees rather than treating the opening build as permanent. See the Rangifer boss guide for a spoiler-light preparation plan.
The exact strongest late-game combination can change with balance patches and individual weapon effects. Current universal damage rankings are not documented in the official sources used for this guide. This page therefore prioritizes confirmed skill functions and reliable coverage instead of unsupported tier-list numbers.
Upgrade rules that prevent wasted points
Do not unlock several active skills that compete for the same input or combat opportunity. Pick a small equipped set, learn when each move solves a problem, and upgrade it until the result is noticeable. Passive improvements that support your most-used attack are more useful than an impressive branch you rarely trigger.
Emma and Koo have separate trees but one combat economy. A strong setup lets Emma earn opportunities and Florescence Points, then lets Koo turn those resources into control, damage, or safety. Review your loadout after every major Nushi victory because new branches can change the best next purchase.