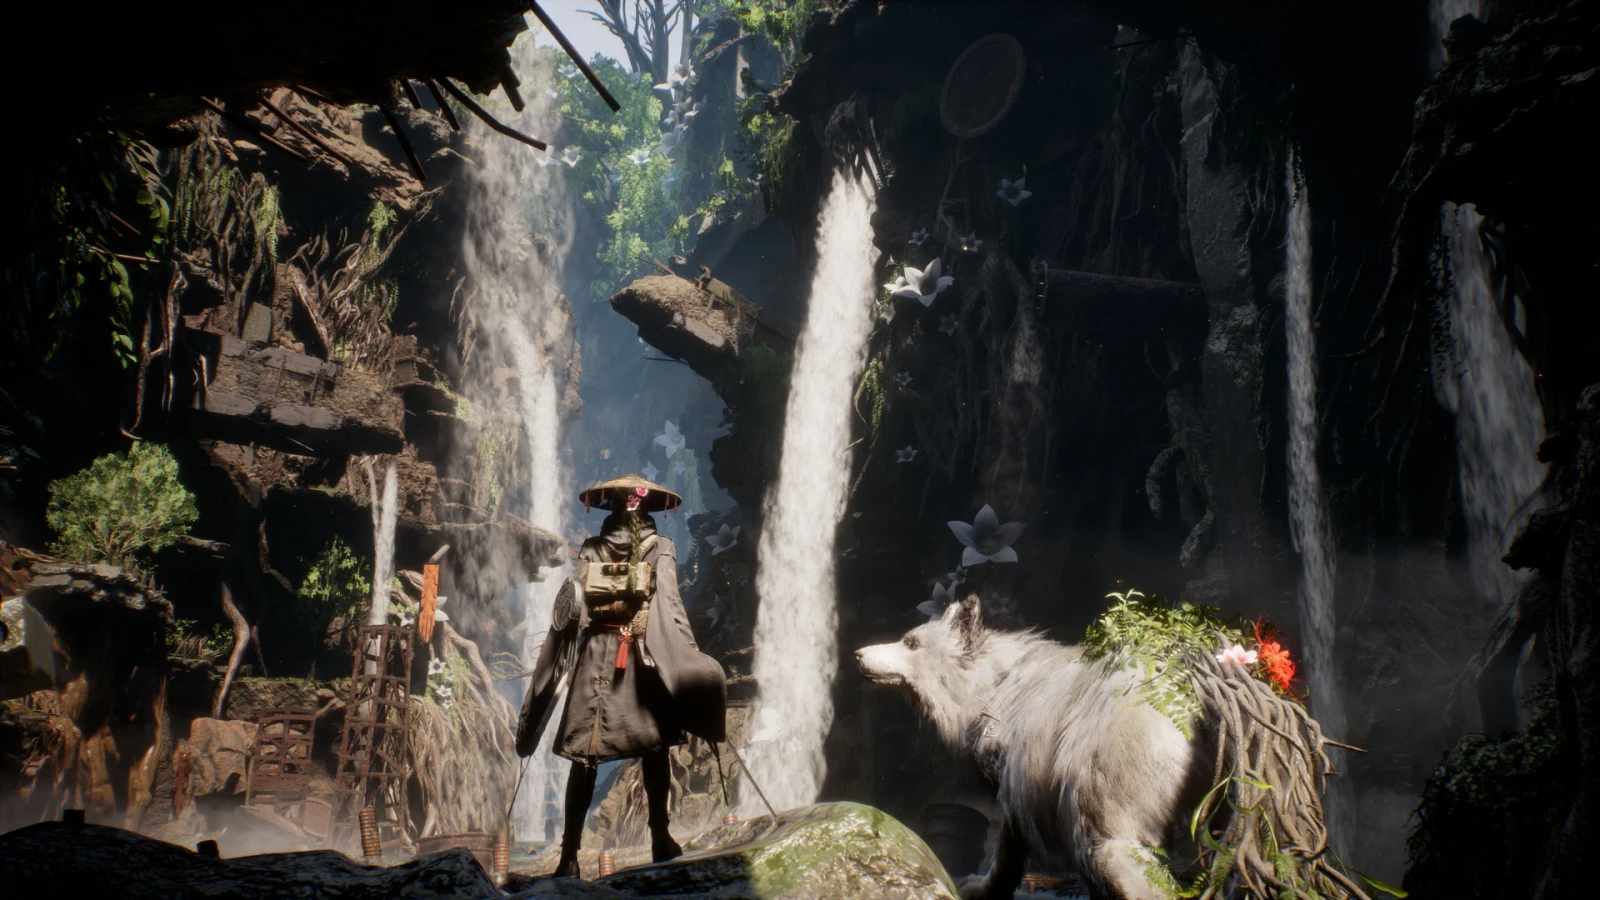
Before you leave the first camp
Use the opening area to learn how Emma and Koo work as a pair. Check every tutorial prompt, open the skill menus, and compare your equipped weapon and Spirit Stones before pushing deeper into the region. Camps are more than checkpoints: they are the safest place to review healing, hunger, skills, and the tools available for the next route.
Do not spend every resource the moment it appears. Early upgrades should solve an immediate problem—survivability, a reliable attack, or a Koo ability you can trigger consistently.
First priority: build one repeatable combat loop before chasing a complicated build. A safe attack, a dependable defensive response, and one useful Bloom Art are enough.
Learn the rhythm of real-time and command combat
Emma moves and attacks in real time. Koo's Bloom Arts are selected through a command system that briefly changes the pace of battle. The two systems are designed to feed each other rather than compete for attention.
- Use Emma's normal attacks and defensive actions to create an opening.
- Watch your Florescence Points instead of treating Koo's abilities as free attacks.
- Spend those points when a Bloom Art will interrupt pressure, extend an opening, or stabilize a dangerous moment.
- Return to Emma's movement immediately after the command resolves.
Parry deliberately
Parrying is powerful because it turns defense into momentum, but attempting it on every unfamiliar swing is a common early mistake. Start by learning one clearly telegraphed attack from each enemy type. Block or dodge the rest until the animation becomes familiar.
- Watch the enemy's weapon or body, not the visual effects around it.
- Press late enough to meet the strike rather than reacting to the wind-up.
- After a successful parry, take the guaranteed punish instead of overextending.
- If a sequence has several hits, assume the first parry may not end the sequence.
Use dodges, range, and stealth
The game supports more than a single parry-heavy style. Repositioning is often better when several enemies share the screen. Ranged tools let you pull or weaken a target, while stealth can reduce the number of enemies in the first exchange.
If a fight feels chaotic, step back and change the shape of the encounter. A safer angle is an upgrade that costs nothing.
Spend Florescence Points with a purpose
Florescence Points are the bridge between Emma's actions and Koo's Bloom Arts. Avoid holding a full resource bar for a perfect moment that never arrives, but do not empty it on low-value targets just because it is available.
Good early uses include stopping an enemy that is pressuring Emma, converting stagger into a larger punish, and covering the recovery after a risky Blade Art.
Explore with Koo and Emma's hair
Koo can help identify useful points in the environment. Emma's vine-like hair also creates traversal opportunities that ordinary movement cannot reach. When a route appears to end, scan above and to the sides before turning back.
- Revisit forks after unlocking new movement or combat options.
- Mark the location of treasures you cannot yet reach.
- Search around camps and major landmarks before entering a boss route.
- Let Koo's behavior guide your attention when the environment looks quiet.
Build for consistency first
A coherent early build is more valuable than several individually strong effects that never interact. Pick a primary answer for ordinary enemies, one answer for staggered targets, and one defensive recovery option.
Spirit Stones and equipment should reinforce that plan. If a bonus only works in a situation you rarely create, it is not helping your current build.
Prepare for a Nushi
Regional Nushi are checks on both execution and preparation. Before entering a major encounter, restore your supplies, review the equipped Bloom Arts, and confirm that your build can deal damage without relying on one perfect sequence.
During the first attempt, prioritize learning. Identify the safest punish, the attack that demands your strongest response, and the point where Koo's command ability creates the most breathing room.
Common beginner mistakes
Avoid these
- Spending all upgrade materials before understanding the available branches.
- Repeating failed parries without changing timing or defensive choice.
- Ignoring Koo until Florescence Points remain capped.
- Treating every optional group as a mandatory straight fight.
- Entering a Nushi route without reviewing healing and equipment.
Keep doing these
- Return to camp when a new system appears.
- Test one change at a time so you know what improved the build.
- Use official control labels when comparing advice across platforms.
- Treat the first boss attempt as information rather than failure.
A simple first-hours route
Learn the basic controls, establish one parry target, equip a useful Bloom Art, search the first region around its camp, then spend upgrades on the weakness you actually experienced. This route keeps the early game readable and gives Emma and Koo a dependable foundation for every later build.